Secure Sockets Layer (SSL), are cryptographic protocols designed to provide communication security over the Internet. It ensures that all data passed between the web server and browsers remain private and integral.
Follow the
below given steps to configure SSL:
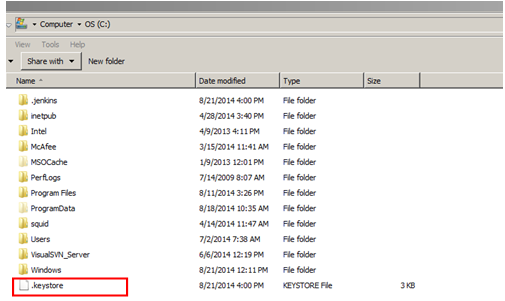
1- Go to Java bin directory and generate
the keystore
fie.
C:\Program Files\Java\jdk1.7.0_55\bin>keytool -genkey -keystore
C:\.keystore -alias tomcat -keyalg RSA

This will generate a “.keystore” file
at c:\ drive.
2- Go Tomcat's server.xml file and
uncomment the port 8443 SSL Connector that came with Tomcat.
Additionally provide the keystore location in the configuration as given
below.
<Connector
protocol="HTTP/1.1"
port="8443"
maxThreads="200"
scheme="https"
secure="true" SSLEnabled="true"
keystoreFile="C:/.keystore"
keystorePass="changeit"
clientAuth="false"
sslProtocol="TLS"/>
Note:
Value of ‘keystorepass’
should be same as the password provided during the generation of ‘.keystore’ file above. In my case i have provided the keystore password as ‘changeit’
while generating the keystore.
3- Restart the tomcat server.
4- Open https://localhost:8443/ URL, it will open the tomcat manager page with SSL.
We will receive a warning message. This is basically telling the browser
user that the certificate has not been verified by a Certificate Authority.
This is because we created a self-signed certificate, which encrypts the
communication between browser and server but doesn't guarantee that if
certificate is from trusted authority.
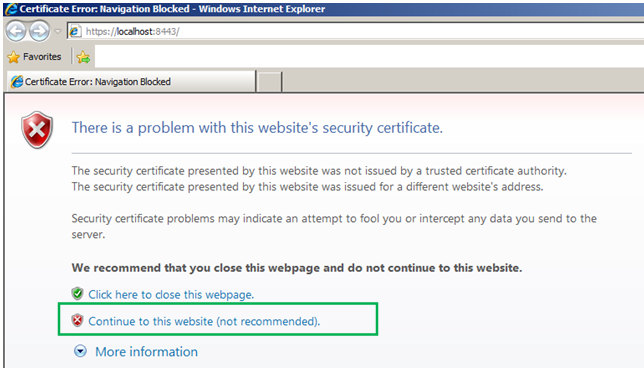
If we
click to continue to the website, we can see that we indeed are able to hit are
web application using SSL.

5- Let's verify that communication is
encrypted or not. Open Eclipse's TCP/IP Monitor view and set up monitors on
port 9090 to forward to 8443 and a monitor on port 8080 to forward to 8082.
ü Click on ‘Add’ button in TCP/IP
monitor window in eclipse to setup monitors. Provide the inputs and Click ‘OK’
to add.
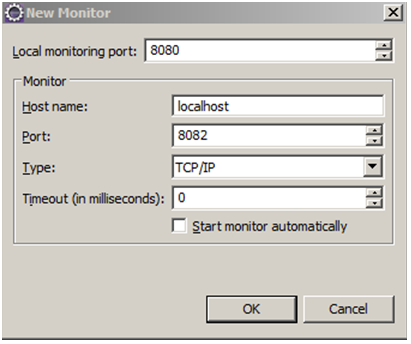
ü Set the types to TCP/IP and start
both monitors, and Click ‘OK’.
ü Select each monitors and click on
‘Start’ to start the monitor.

ü Go to TCP/IP monitor view (Window>Show View > TCP/IP Monitor)

ü Open the http://localhost:8080/DemoServlet/ URL and see the monitor. We can view the headers and bodies of the requests and responses.

ü Now, open the https://localhost:9090/DemoServlet/ URL (which we have configured to route to 8443 port in monitor) and see the monitor. We can view the headers and bodies of the requests and responses. See
the highlighted section.

No comments:
Post a Comment
Thanks for your comments/Suggestions.